In no time at all, spring will be here – and with it, the opportunity to reinvent your yard. For many homeowners, installing an interlocking patio is an economical way to extend their living space outdoors. If you, too, are interested in personalizing your space with this DIY patio, here’s how to do it successfully.
Plan Out Your Patio Placement
Building an interlocking patio is like any other DIY project – without proper planning at the beginning, you’re setting yourself up for a complicated process.
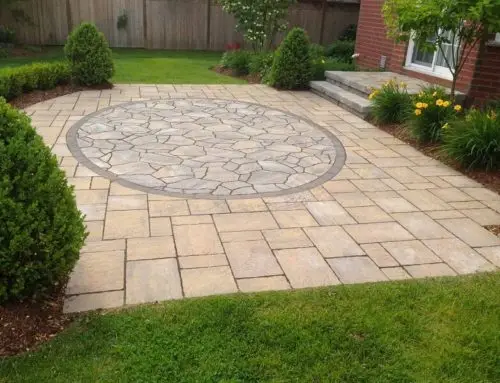
Start by accurately measuring the width and length of your surface area. Then, form a plan for a paving pattern. Depending on the complexity of the design you want, there are many patterns to select from, including herringbone, pinwheel and running bond. Think about what you will be placing on the stones – if there’s anything heavy, choose thicker paving stones. Choose an appropriate size for your patio and allow enough space to walk around your outdoor furniture.
Before you begin to dig, call your local utility company to inquire about underground gas, water, and electrical lines. Usually, utility companies will visit your property and mark these lines for you at no charge. This helps you to identify where to avoid digging.
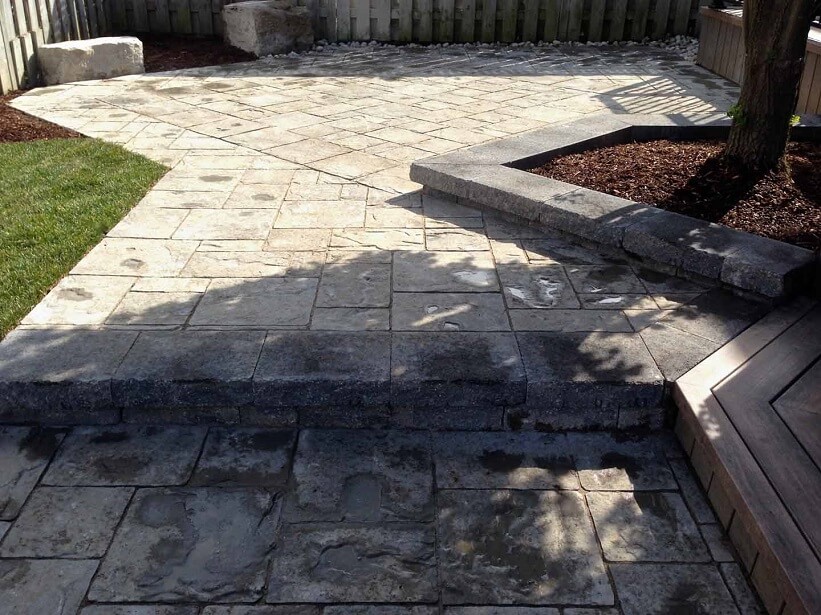
Prep the Patio Area
Use stakes, string, and landscaper’s spray paint to mark the layout for your interlocking patio. Ensure your layout is square, level, and has the proper slope. In general, your patio should slope away from the house at an approximately 1-inch drop every four feet.
Next, determine the finished patio height so that it’s slightly higher than the surrounding ground and allows for an additional 6-inches for your foundation. Remove the sod and dirt while keeping the slope uniform. If you plan on installing any landscape lighting, now’s the time to do so.
Once you remove all of the dirt, tamp the area either by hand or using a rented plate compactor. To protect the patio from weeds, secure commercial-grade landscape fabric.
Complete the Interlocking Patio Install
Lay and compact the foundation’s base from crushed gravel while paying attention to the slope. Using a tamper, lay in a bed of sand so that you create an even, settled surface. Frame the area with landscape edging.
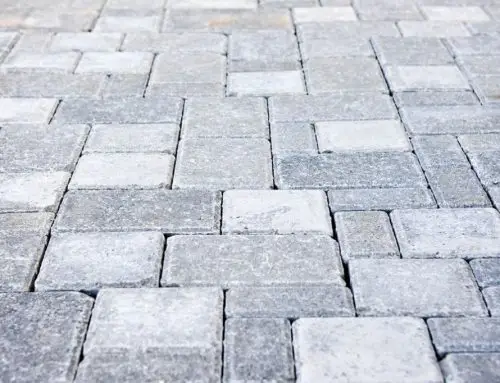
Next, it’s time to lay the patio pavers, starting along the edge of the layout. As you work toward the centre of the patio area, leave a small gap between the stones. Periodically, check and adjust the level while keeping the rows straight. Cut any pavers necessary to fit the space.
Ask the Interlocking Patio Experts
When it comes to installing the patio foundation and laying the pavers, we’re often asked similar questions. We’ve included them below, as well as our advice.
What do you put in between patio pavers?
Use a light layer of paver sand to fill the joints between patio pavers.
What is the best base for patio pavers?
Support your patio pavers with a gravel base built-in 2- to 3-inch layers that are wet then compacted. A 6-inch base is optimal.
Can you anchor into pavers?
Although you can drill into pavers, installing a footing is usually a better idea to provide more stability.
For additional information about how to build an interlocking patio, contact us today.